How to properly paint a guitar – without frustration or mistakes

You're not afraid to get your hands dirty and want to take matters into your own hands to paint your guitar?
A famous quote by musician Jimi Hendrix says, “I don’t destroy guitars, I liberate them.”
Today, you too can liberate your guitar – not just with fire and rock’n’roll shows, but with our step-by-step guide that shows you how to breathe new life into your instrument. If you think it will be quick, easy, and fun, you're almost right. It is fun – especially when you hold the final result in your hands and can proudly say you did it all yourself. But the path there involves dust, solvents, and a few drops of sweat.
In this blog post, you’ll learn what to keep in mind when painting your guitar and what tips we can give you to make the process as simple as possible.
Why paint a guitar at all?
The question of why you should go through the trouble of painting your guitar is easy to answer. Because painting your guitar comes with the following benefits:
- Wood protection: Paint creates a reliable barrier against moisture, dirt, and protects your guitar during all the adventures you experience with it.
- Aesthetics: Glossy, matte, cherry red – you decide how your guitar should look.
- Sound: Yes, that’s not a myth. Some types of paint (especially nitrocellulose) influence the wood’s resonance.
- Uniqueness: With a custom look, you turn your guitar into a one-of-a-kind piece.
- Meditative process: Sanding, painting, waiting… For some, it's yoga; for others, repainting their guitar is what helps them relax.
- Impression: People respect those who create something themselves. Especially if they’ve built a true guitar delicacy.
By the way, did you know that Jimi Hendrix once painted his guitar bright pink? It wasn’t just style – it was a real revolution in the music world! And Kerry King from Slayer? He used special paints so his guitar still looked new years later. Guitar paints can contain various additives that improve their properties, such as scratch resistance and UV protection.
The Guide: How to Paint a Guitar Successfully
By now you should be motivated to transform your guitar into a true original. Let’s get started! In our guide, we explain how to proceed and share plenty of tips to help you achieve a beautiful result.
1. What do you need to paint your guitar?
Ready to make your guitar shine like new? Then grab not just courage but also the right tools. Here’s a list of everything you need to make your painting project a success from start to finish.
- Sandpaper (180, 240, 400, 600, and 800 – yes, you’ll need them all)
- Respirator mask (unless you want to breathe solvent fumes for a week)
- Gloves, safety glasses, and patience (especially the last two)
- Primer (for adhesion and even coating)
- Paint – nitro, acrylic, or water-based, depending on your preference
- Color (if you want not just guitar paint but actual color)
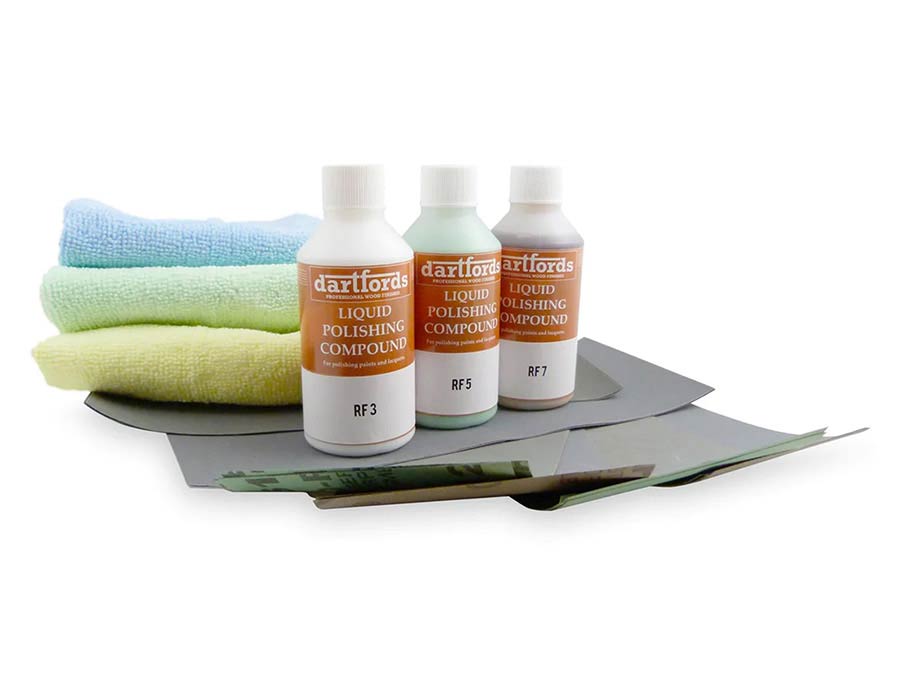
- Polishing compound and soft cloths
In our shop under Paints & Colors, you’ll find everything you need to paint your guitar – from various guitar paints to the right tools to the proper accessories.
2. Preparation: Pain, dust, and love
First, take your guitar apart, and I don’t just mean removing the strings. Remove everything: tuners, pickups, hardware, strap pins, electronics – anything you can unscrew should come off.
Here’s an important tip: Take photos of every disassembly step with your smartphone. In a week, you’ll definitely forget which wire goes where or which washer belongs under which screw. Another valuable tip: prepare several small boxes, jars, or zip bags and store the parts in the order you removed them. Label them with names like “neck,” “bridge,” “pots,” and so on. This will save you hours of headaches during reassembly. And don’t forget that screws love to disappear. Especially the important ones. So keep them safe like grandma’s gold teeth to make sure you have everything you need to reassemble your guitar later.
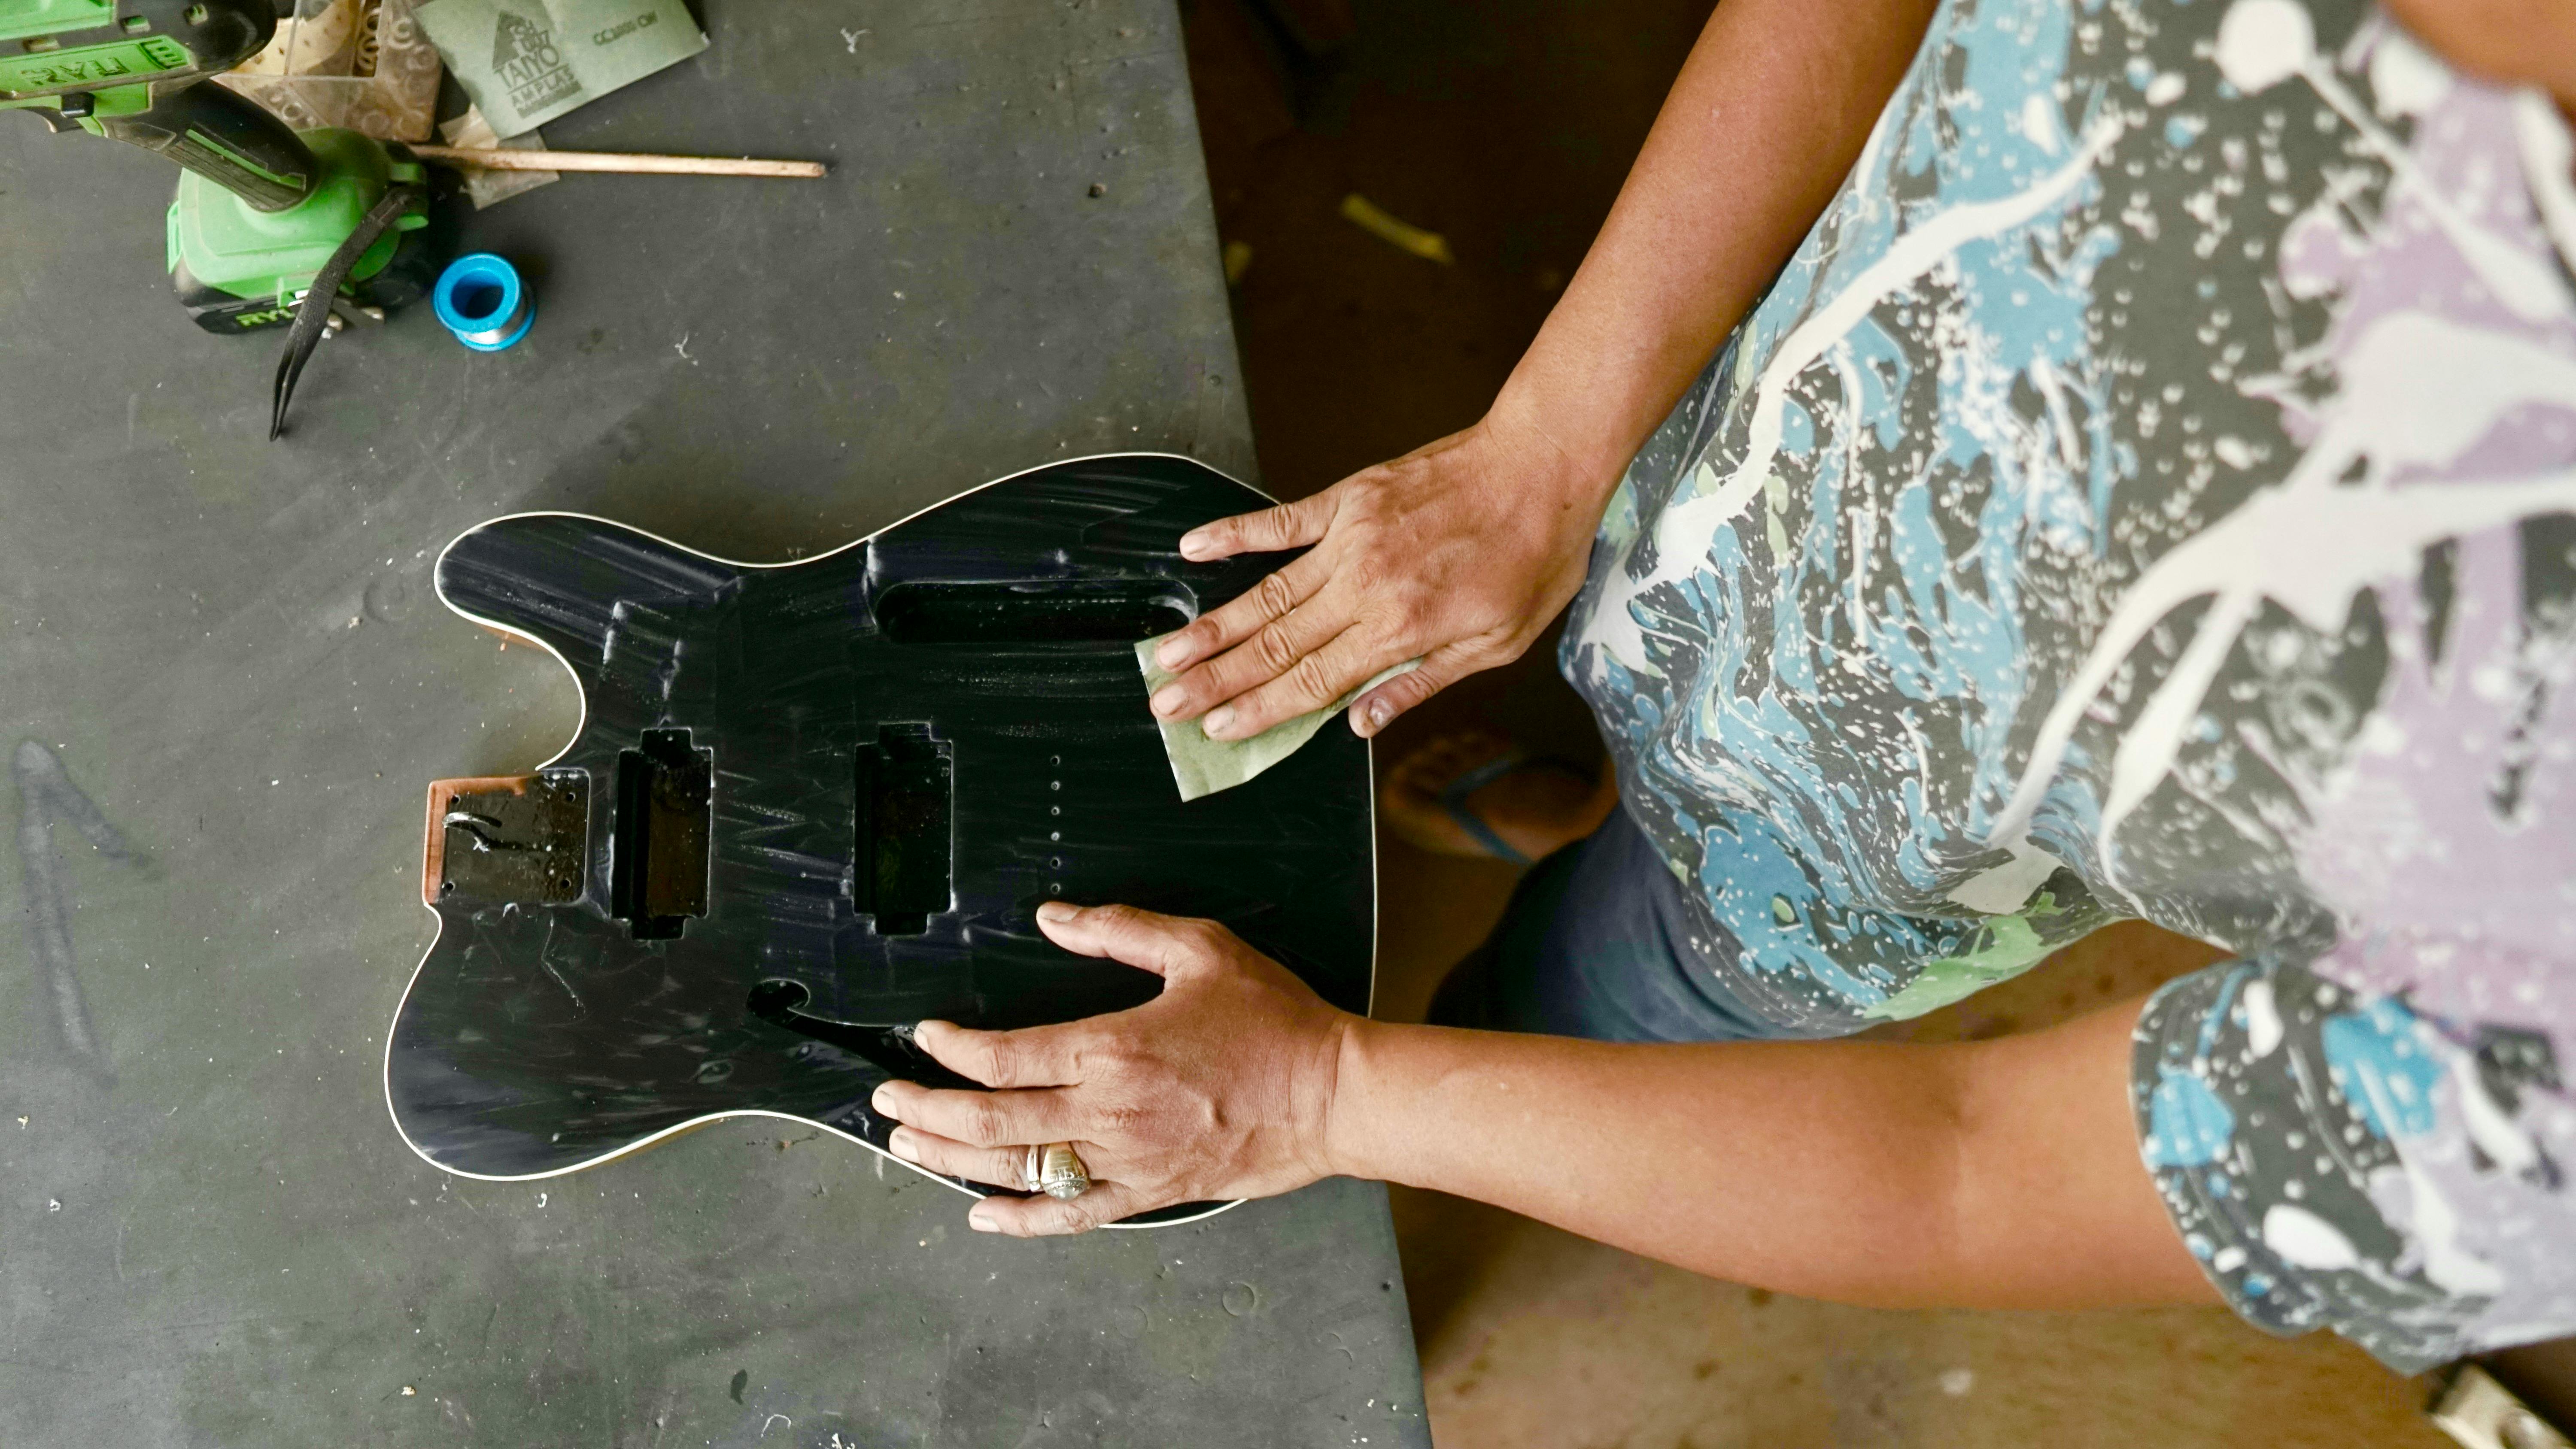
Next, start sanding your guitar. If it’s covered with old paint, you’ll need to put in some elbow grease. The golden rule: “Better to sand a hundred times than mess it up once.” The old paint has to go. Work precisely because any remaining paint spots will definitely cause bubbles later.
After sanding – remove the dust!
But not with a tissue. Use an antistatic or at least a damp (not wet!) cloth.
3. Primer – the foundation of success
Apply it thinly, but don’t try to do it all at once. Three thin coats are better than one thick coat you have to painstakingly sand down later. Each layer should be even and light. And remember: patience is the key to success. As Stevie Ray Vaughan once said, “Play slow to play fast.”
The primer takes about 24 hours to dry. Hands off! Yes, even if it doesn’t feel “sticky” anymore.
After drying – lightly sand it (400–600 grit). Then, on to the paint!
4. Painting! With color, shine, and a little magic
Option 1: Want color? Mix paint into the lacquer!
Lacquer can be clear or colored. Sunburst? Not easy, but doable. Candy Apple Red? Easier. Matte black? A true classic.
Work slowly. Between coats: wait 30–60 minutes. Make sure each coat is smooth and free of runs. If a drip happens – don’t panic! Let it dry and sand it smooth afterward.
Option 2: Just want shine? Clear coat is your friend!
On beautifully grained wood, clear coat looks classy. Golden rule: at least 3 coats. Better yet 5–6. Sounds like a lot? Wait until you polish.
Drying times for nitro and water-based guitar paints
When painting guitars, choosing the right paint is crucial for the sound, feel, look, and durability of the instrument. Two of the most common types are nitrocellulose lacquer (nitro) and water-based acrylic lacquer. Both have different properties – especially in terms of drying time:
Nitrocellulose lacquer (nitro)
Nitro lacquer is a traditional solvent-based paint with a long history – used by Fender and Gibson. Guitar enthusiasts love its natural resonance.
- Surface dry: approx. 30 minutes to 2 hours
- Dust dry: after approx. 1 hour
- Handle dry: after 24 hours
- Fully cured / ready for polishing: after 2 to 4 weeks
The drying process occurs through solvent evaporation, making it sensitive to humidity, temperature, and coat thickness.
Water-based guitar lacquer
Water-based guitar lacquer is more environmentally friendly, contains fewer VOCs, and dries faster.
- Surface dry: 30 minutes to 1 hour
- Dust dry: after approx. 1 hour
- Handle dry: after 4–6 hours
- Fully cured / ready for polishing: after 7–10 days
Water-based lacquer hardens through evaporation and film formation. It spreads more evenly but is more sensitive to moisture. Modern formulas are durable, clear, and long-lasting.
Conclusion:
Nitro is the traditional choice but more labor-intensive. Water-based lacquer is quicker, easier, and cleaner. Which one you choose is entirely up to you.
5. The final chord – polishing & reassembly
After 7–10 days (preferably 14!), the paint is fully cured. Time for the finale: polishing. But don’t grab the cloth just yet – first comes wet sanding. Grit 1000–2000, a soft backing pad, water with a drop of dish soap, and patience is the formula for success. Sand evenly to smooth out small imperfections.
Then: polishing compound (e.g., silicone-free car polish) and a microfiber cloth. Polish gently in circular motions until it shines from every angle, even under dim garage lights.
Or: Are you a fan of a matte look? Simply stop after the last sanding. Use a sanding fleece or 2500–3000 grit paper to lightly go over it, and you’ll have an elegant satin finish. It looks classy, feels great, and doesn’t show fingerprints like high gloss.
Polishing is the dessert. Take your time – it completes the look, elevates your work to a new level, and turns a painted guitar into a true gem.
Finally, reassemble the guitar, tune it, and admire it. You did it – even Jimi Hendrix would be proud of you now!
Common mistakes (and how to avoid them)
We can learn from mistakes – preferably from others’. Here are the most common pitfalls when painting a guitar, so you don’t have to make them yourself.
Picked the wrong paint?
Many beginners choose the wrong paint for their guitar project. Nitro on acrylic? Bad idea. If in doubt – ask our Zoundhouse experts. They’ll save both your paint job and your nerves.
Touched the paint too early?
That comes back to haunt you – with fingerprints, streaks, and tears.
Too much paint at once?
Welcome to the land of drips, cracks, and emotional breakdowns. Less is more!
Ignored drying times?
Take your time! Each coat must dry completely before the next one. Otherwise, bubbles can form.
Painted in a dusty room?
Congratulations! You just sacrificed your shine. Even if you spray like a pro – if a piece of fluff falls from the ceiling fan onto the body during the last coat, it’s all for nothing.
Painting needs its own space that’s ideally dry and well-ventilated. A spray booth is best. Alternatively, a corner with an exhaust, pre-cleaned damp surfaces, and zero drafts works. First, air out the room, then close the windows and turn off fans. The cleaner the air, the smoother the paint, and the less sanding, swearing, and crying in the corner you’ll do later.
Sanding when you shouldn’t?
Only between coats, and only when they’re dry.
Didn’t test the color first?
Every can can misbehave. Always test the color beforehand.
Final question: How much does it cost to become a legend?
Painting a guitar is like getting your first tattoo – at first, you fear the pain, but then it becomes addictive. First one, then two, and suddenly you’re painting custom guitars for friends in exchange for pizza and beer – or money. Who knows?
The most important thing: do it with heart. Even if everything doesn’t go perfectly – you learned something and got closer to your guitar. Dare to experiment, add your style. In our online shop, you’ll find everything you need to paint your guitar. For any other questions that come up – contact us, because as guitar experts, we can share our years of experience to make sure your project is a full success.
Maybe your guitar will be the next music legend.


